How To Attach A Sleeping Bag To A Backpack
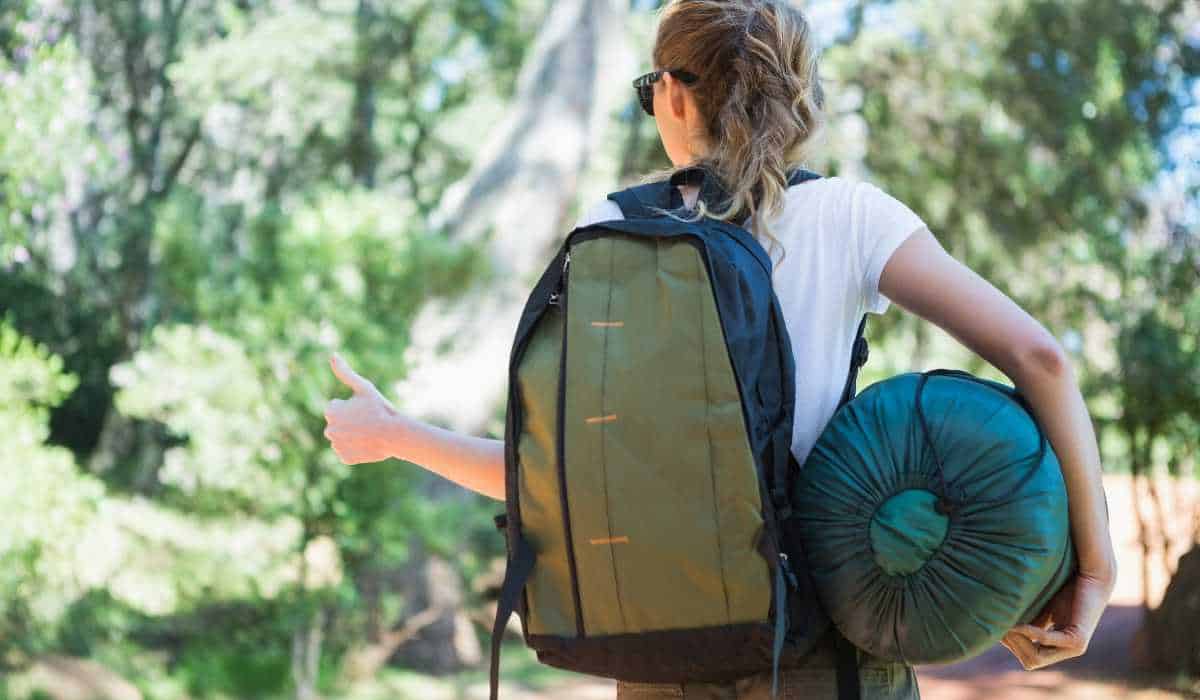
Understanding how to affix a sleeping bag onto a knapsack is an indispensable ability for any nature lover. By mastering this technique, you can make your camping and hiking experiences more enjoyable and efficient. In this blog post, we will explore the advantages of attaching a sleeping bag to your backpack, discuss different types of straps and clips for attachment, and provide step-by-step instructions on how to secure it properly.
As you read through our comprehensive guide on how to attach a sleeping bag to a backpack, you’ll discover that doing so offers several advantages such as easier transportation, increased space in your pack, and improved balance while carrying your gear. Additionally, we will explore various attachment methods like compression straps, daisy chains or webbing loops, and carabiners or quick-release buckles.
By the end of this post, you’ll be well-equipped with the knowledge needed to keep your sleeping bag securely fastened during all of your outdoor adventures.
Table of Contents
Choosing the Right Sleeping Bag for Backpacking
Selecting a lightweight and compact sleeping bag is essential when planning a backpacking trip. A smaller, packable sleeping bag will not only save space inside your backpack but also make it easier to attach externally if needed. Consider factors such as insulation type, temperature rating, and size when choosing the perfect sleeping bag for your adventure.
Down vs Synthetic Insulation in Sleeping Bags
Sleeping bags come with two main types of insulation: down and synthetic. Down-insulated bags are made from goose or duck feathers, which provide an excellent warmth-to-weight ratio while being highly compressible. Nevertheless, they can be more costly than synthetic bags and their insulating abilities diminish when wet.
Synthetic insulation is usually made from polyester fibers that mimic down’s structure but retain warmth even when damp. They’re generally less expensive than down-filled bags but can be bulkier and heavier due to lower compressibility.
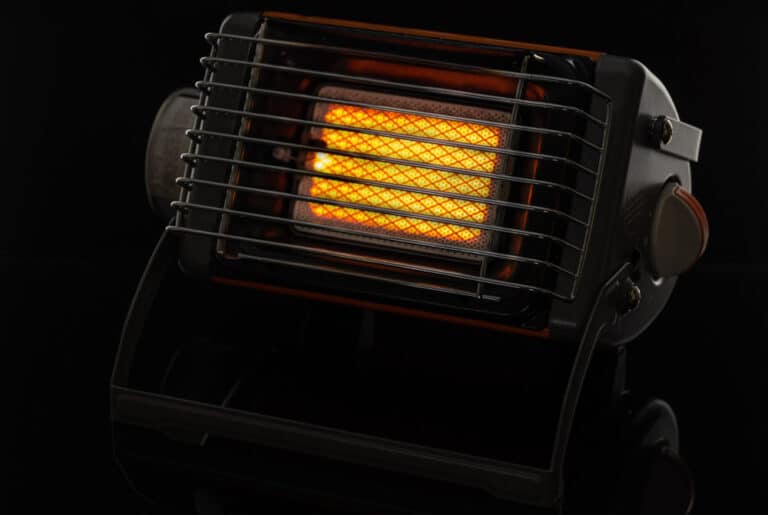
Click here to read about Portable Camping Heaters: Keeping You Warm and Safe in the Great Outdoors
Temperature Ratings and Their Importance
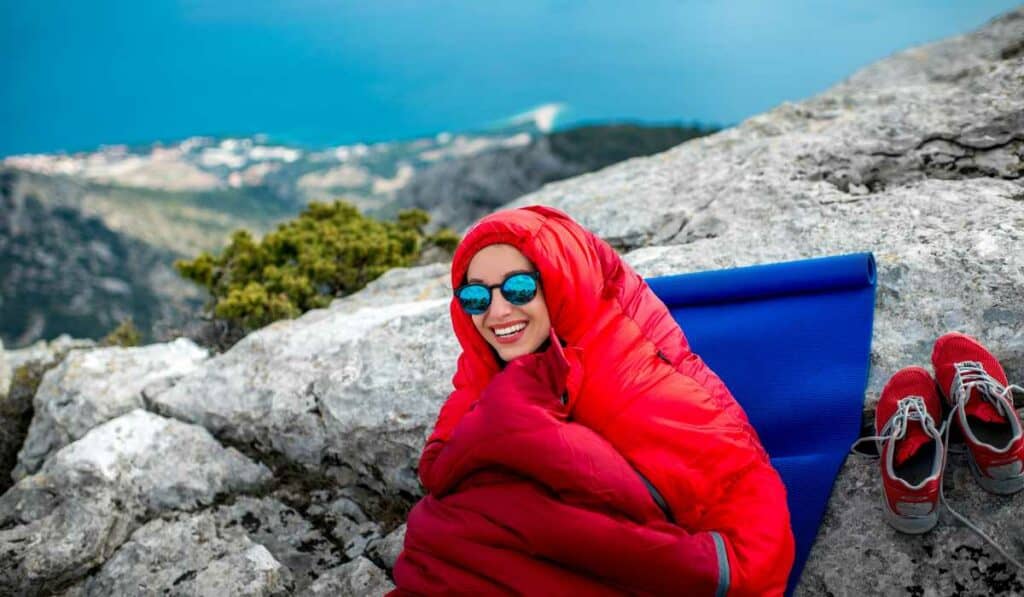
The temperature rating of a sleeping bag indicates the lowest temperature at which it should keep you warm during sleep. It’s crucial to choose a suitable temperature-rated bag based on expected weather conditions during your camping trip so that you don’t end up shivering all night long or overheating in warmer temperatures.
- Summer: For summer trips where nighttime temperatures stay above freezing (32°F / 0°C), look for bags rated between +35°F and +45°F (+2°C to +7°C).
- Three-season: For spring, summer, and fall trips with nighttime temperatures between 20°F and 30°F (-6°C to -1°C), opt for bags rated between +15°F and +35°F (-9°C to +2°C).
- Winter: If you’re venturing out in colder conditions where the temperature can drop below freezing (below 20° F / -6° C), consider a bag rated at least at zero degrees or lower.
Taking into account factors like insulation type, temperature rating, and size, as well as personal preferences such as sleeping style will help ensure that your chosen sleeping bag keeps you comfortable throughout your outdoor adventure. Remember that practicing packing is essential when it comes to finding the perfect balance of comfort and packability.
Selecting the ideal sleeping bag for backpacking is critical to guarantee a pleasant sleep in any environment. To make sure your sleeping bag stays secure, it must be attached to your backpack correctly.
The Key Takeaway: This piece examines the elements to contemplate when selecting a backpacking sleeping bag, such as insulation type, temperature rating, and size. From lightweight down-filled bags suitable for summer trips to synthetic options ideal for colder temperatures, finding a comfortable and packable option that fits your needs is key – so get out there and test drive some sleep sacks.
Attaching Your Sleeping Bag Inside Your Backpack
Storing your sleeping bag inside the main compartment of your backpack helps protect it from rain and dirt while evenly distributing its weight within the pack. Learn how to properly store your sleeping bag by using compression sacks or stuff sacks that can be cinched down tightly to minimize bulkiness.
Click here to read about Discover Sleeping Bear Dunes: Michigan’s Coastline Hidden Gem
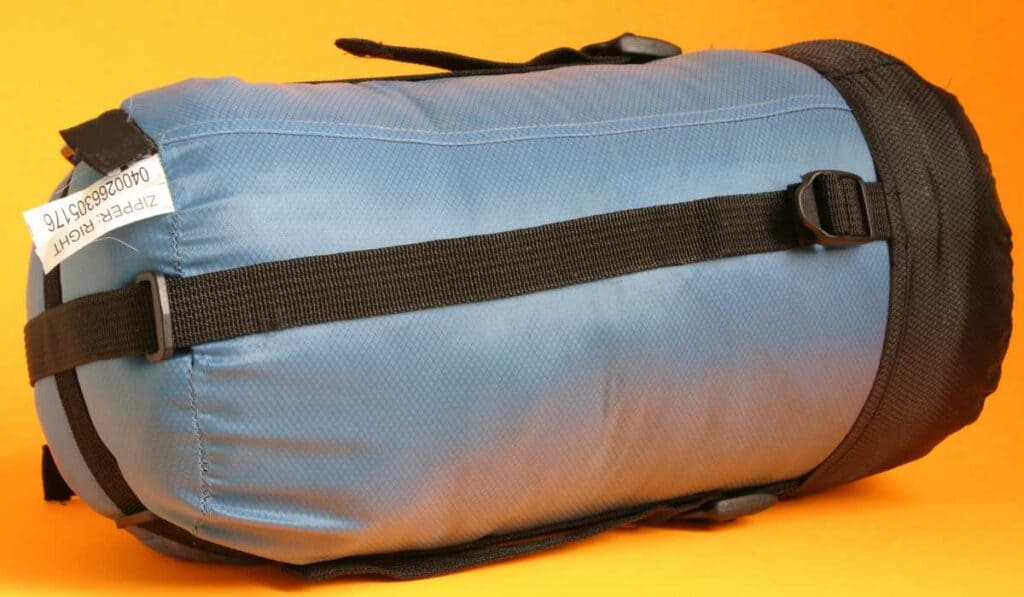
Using Compression Sacks or Stuff Sacks Effectively
To attach a sleeping bag inside, first, place it in a compression sack or stuff sack designed for this purpose. These bags help compress the size of your sleep system, making it easier to fit into tight spaces within your hiking backpack. To use these carrying bags effectively:
- Pack the sleeping bag tightly into the carrying sack by pushing and rolling it as you go.
- Cinch down any adjustable straps on the stuffing sack until they are snug against the compressed material.
- If using a compression buckles-equipped model, tighten them progressively until achieving desired compactness without damaging internal components like zippers and seams.
Organizing Other Gear Around Your Stored Sleeping Bag
A well-organized backpack not only makes packing more efficient but also ensures that essential items are easily accessible during camping trips. When storing a sleeping bag inside:
- Determine placement: Decide where in your pack you want to store the sleep system – some prefer placing their wet gear at bottom sections while others opt for mid-section storage near heavier equipment like cooking sets or food supplies.
- Create space around other essentials: Once you’ve chosen a location, arrange other camping gear around the sleeping bag to maximize space utilization. For instance, you can store your clothes and camping accessories in any gaps or crevices created by the compressed sleep system.
- Keep balance:– Make sure that heavier items are placed closer to your back for better weight distribution during hikes. This will help prevent discomfort or strain while carrying a loaded backpack on long treks.
Packing and organizing your backpack efficiently is essential for an enjoyable camping trip. By attaching a sleeping bag inside using compression sacks or stuff sacks, you can save valuable space while keeping it protected from external elements like rain and dirt.
Securing your sleeping bag to the inside of a rucksack can be an effective way to optimize space and maintain equipment in order. With external attachment methods, you can easily secure larger items such as sleeping bags onto internal frame backpacks for easy transport.
The Key Takeaway: This article provides a comprehensive guide on how to effectively attach your sleeping bag inside of your backpack, such as using compression sacks or stuff sacks and organizing other gear around it. It emphasizes the importance of proper packing and organization for an enjoyable camping experience by maximizing space utilization while keeping heavier items closer to one’s back for better weight distribution.
External Attachment Methods for Internal Frame Backpacks
If you have an internal frame backpack with limited storage space, attaching a wet or bulky sleep system externally might be necessary. Discover various methods like utilizing built-in loops on modern packs designed specifically for securing gear outside compartments without risking slippage during transit.
Compression Straps Usage on Internal Frame Packs
Many internal frame backpacks come equipped with compression straps, which are adjustable straps that can help secure your sleeping bag tightly to the pack. To use these effectively, follow these steps:
- Lay the sleeping bag out flat and roll it up tightly as you can.
- Place the rolled-up sleeping bag horizontally across the bottom of your backpack, aligning it with the compression straps.
- Buckle the compression straps over your sleeping bag and tighten them until they hold it securely in place.
Bottom Tightening Strip Attachment Method
An alternative method for attaching a sleeping bag to an internal frame backpack is using a bottom tightening strip. This involves threading a strap through designated loops at the base of your pack before buckling and tightening around your rolled-up sleep system. Here’s how:
- Familiarize yourself with any available attachment points at the base of your hiking backpack; some may feature dedicated loops or daisy chains for this purpose.
- Select an appropriate strap or bungee cord long enough to wrap around both sides of your rolled-up sleeping pad or carrying sack containing other camping gear items such as tents and cooking equipment if needed alongside their main compartment contents (ensure no sharp edges protrude).
- Thread one end of the strap through an attachment point on your backpack, then loop it around your sleeping bag or carrying bag.
- Repeat this process with the other end of the strap, looping it through another attachment point and securing both ends together using a buckle or knot.
Note that while these methods are effective for attaching a sleeping bag to internal frame backpacks, they may not provide as much protection from moisture and dirt compared to storing your sleep system inside. To ensure your gear stays dry during wet conditions, consider using a waterproof cover such as a dry bag, which can be easily attached externally in place of traditional compression buckles if desired.
For internal frame backpacks, the best way to attach a sleeping bag is by using compression straps and tightening strips. External frame packs offer additional attachment points which can be used with bungee cords or adjustable straps for further security.
The Key Takeaway: This article provides a detailed guide on how to securely attach a sleeping bag to an internal frame backpack using compression straps or bottom tightening strips. It is essential for those who venture into the outdoors to understand these techniques in order to avoid shifting and secure their possessions, making sure they remain dry and guarded against any weather conditions.
External Attachment Techniques for External Frame Backpacks

For those who use external frame backpacks, there are different ways of securely attaching a sleep system outside their compartments using tie points available at the top or bottom surfaces of these packs. Explore techniques like lid ties which allow secure fastening without the risk of slipping off during travel.
Top attachment points on external frame packs
Most external frame backpacks come with multiple attachment points on the top and sides, making it easy to attach your sleeping bag and other camping gear. To utilize these top attachment points:
- Fold your sleeping bag tightly in its carrying sack or compression straps.
- Lay the packed sleeping bag horizontally across the top part of your backpack’s external frame.
- If available, use built-in adjustable straps to secure the sleeping bag in place. If not, you can also use bungee cords or additional nylon straps to ensure a tight fit around the pack’s frame.
- Tighten all straps evenly so that they hold firmly onto your sleep system while preventing any unwanted movement during hiking trips.
Utilizing bungee cords or adjustable straps
Bungee cords and adjustable nylon webbing straps are versatile tools that can be used effectively for securing various types of camping gear including tents, tarps, and even wet clothes along with your sleep system when attached externally. Here is how you can make good use of them:
- Bungee Cords: These elastic ropes have hooks at both ends which makes it easy to loop through designated holes found on most external frames. Simply attach one end of the bungee cord to a top attachment point, stretch it over your sleeping bag, and hook the other end onto another attachment point on the opposite side. Make sure to use multiple cords if necessary for added security.
- Adjustable Straps: Nylon straps with buckle closures can be used similarly to bungee cords but offer more control in terms of tension adjustments. Loop them through appropriate attachment points found on your backpack’s frame before fastening buckles tightly around gear items like sleeping bags or tents.
In both cases, always double-check that all attachments are secure and won’t come loose during your outdoor adventure. It is also a good idea to practice packing and attaching your sleep system at home before heading out on an actual camping trip – this way you’ll know exactly what works best for you.
The Idea: This article provides a comprehensive guide to attaching a sleeping bag to an external frame backpack, including the use of lid ties and adjustable straps. Whether you opt for bungee cords or nylon webbing straps, it’s important to practice packing and securing your sleep system beforehand so that everything stays in place during your outdoor adventure.
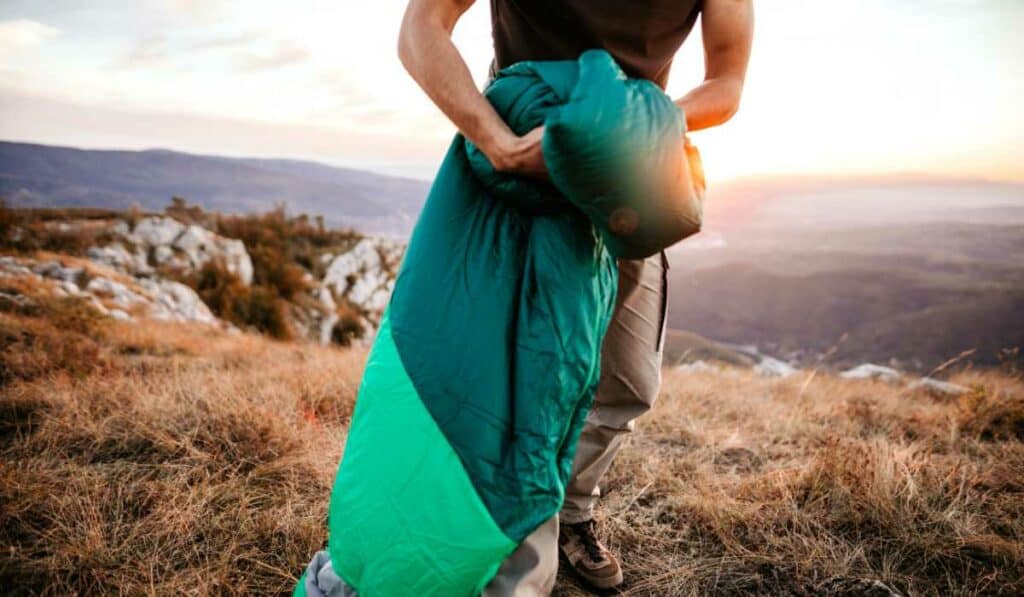
Protecting Your Sleeping Bag from Moisture and Dirt When Attached Externally
A key concern when attaching a sleeping bag externally is keeping it dry and clean during your backpacking trip. Discover how to protect your sleeping bag from the elements by using waterproof bags, nylon covers, or even trash bags as makeshift solutions.
Dry Bag Options for External Attachment
A dry bag is an ideal solution for protecting your sleeping bag from moisture and dirt. These specialized carrying sacks are designed with waterproof materials that will ensure your sleep system stays protected against rain, snow, and splashes. Dry bags come in various sizes so you can find one that fits snugly around your compressed sleeping bag. To use a dry bag effectively:
- Place the compressed sleeping bag inside the dry bag.
- Fold over the top opening at least three times to create an air-tight seal.
- Buckle or clip together any compression straps or buckles on the exterior of the dry sack.
- Attach it securely to your hiking backpack using adjustable straps or bungee cords through loops provided on most packs.
DIY Solutions like Trash Bags or Meshed Sacks
If you don’t have access to a proper dry sack but still need protection for your external attachment method, consider these DIY alternatives:
- Trash Bag Method: This cost-effective option involves wrapping up tightly in heavy-duty trash bags before securing them outside their pack.
- Select an appropriately sized garbage/trash liner (ideally with a drawstring closure).
- Place the compressed sleeping bag inside and pull the drawstring tight.
- Wrap excess plastic around the sleep system, securing it with duct tape or a bungee cord to ensure water resistance.
- Nylon Cover: A lightweight nylon cover can also provide protection against moisture and dirt.
- Purchase an appropriately sized nylon cover.
- Slide it over your compressed sleeping bag before attaching externally to your backpack using adjustable straps or bungee cords through loops provided on most packs.
By taking these precautions, you’ll be able to keep your sleeping bag dry and clean throughout your camping trip while still benefiting from external attachment methods for better weight distribution and organization of gear within your pack. Remember that practicing packing is essential in order to find what works best for you.
By using a dry bag, you can ensure that your sleeping bag is protected from moisture and dirt when attached externally. Moreover, with the proper supplies and expertise, it is feasible to affix extra camping equipment such as tents or sleeping pads without decreasing dependability.
The Key Takeaway: This article provides practical advice for attaching a sleeping bag externally to your backpack and keeping it dry and clean during outdoor adventures. It covers the benefits of using a waterproof dry bag or DIY alternatives like nylon covers or trash bags, as well as tips on how to ensure an air-tight seal when packing up.
Tips for Attaching Additional Camping Gear
Besides a sleeping bag, secure other camping items like tents and pads to your backpack using adjustable straps, bungee cords, and pack loops for safety and easy access. Learn how to use adjustable straps, bungee cords, and pack loops effectively while ensuring that all items are safe and easily accessible during your journey.
Securing a Tent Alongside the Sleep System
A tent is an indispensable piece of camping gear that you’ll likely need on your outing. When attaching it externally, make sure it’s packed tightly in its carrying sack or a waterproof bag before securing it with compression buckles or adjustable straps. Here are some tips:
- If possible, attach the tent horizontally at the bottom of your hiking backpack using available loops or straps.
- You can also try attaching it vertically along one side of the backpack if the horizontal attachment isn’t feasible.
- In case both options aren’t suitable for your specific backpack model, consider placing the tent inside but near the top opening for easy access when setting up camp.
Fastening a Sleeping Pad Without Compromising Stability
Sleeping pads provide comfort during rest periods on any camping trip. To ensure they don’t interfere with balance while walking or hiking:
- Fold them into compact shapes before securing them in their carrying bags.
- Use compression straps found on most internal frame backpacks to fasten these carrying bags either horizontally below the main compartment (if there’s enough space) or vertically along one side of your pack – whichever option feels more comfortable and stable for you.
- Secure the sleeping pad with bungee cords or adjustable straps, if your backpack lacks built-in ones.
Remember that practice makes perfect when it comes to attaching camping gear. Before embarking on your adventure, spend some time practicing packing and securing all items in different configurations until you find the most comfortable and efficient setup for your needs. This will not only save time during your actual trip but also ensure that everything is safe and easily accessible throughout the journey.
The Key Takeaway: Securely affixing your tent, sleeping bag and pad to a backpack is essential for an enjoyable outdoor experience; here are some tips on how to do so effectively and safely. Through the use of adjustable straps, bungee cords or pack loops you can make sure all your gear is secure while still being easily accessible during your outdoor adventure. With practice comes perfection – take some time before heading out to ensure everything fits snugly in place for maximum comfort.
FAQs about How To Attach A Sleeping Bag To A Backpack
Why do you put a sleeping bag on the bottom of a backpack?
Stuffing a slumber sack in the base of a knapsack is an efficient technique to optimize space and keep your equipment orderly. By placing a sleeping bag at the bottom of your pack, you can balance out its weight distribution and improve stability while on the move.
Additionally, having items like this closer to your body can help increase stability while hiking or other activities that require movement. Finally, by placing these items in their own compartment near the base of your pack you have easy access when needed without having to unpack everything else first.
WHERE IS THE BEST PLACE FOR A SLEEPING BAG ON A BACKPACK?
Place the sleeping bag at the bottom of your pack for easy access and improved balance while carrying. This allows for easy access to your gear and ensures that heavier items are closer to your center of gravity, which helps with balance while carrying it.
The straps should be tightened securely so that the sleeping bag doesn’t shift or move around while walking. Additionally, if possible try to keep your sleeping bag in its own stuff sack or waterproof liner as this will help protect it from dirt and moisture during long hikes.
how do you tie a sleeping bag to a backpack with a rope?
To tie a sleeping bag to a backpack with rope, start by gathering two pieces of rope that are each long enough to go around the circumference of the backpack and then double back. Take one piece of rope and loop it through the bottom handle or straps on the sleeping bag, then pull it tight so there is no slack in between. Do this for both pieces of rope.
Next, wrap one piece around the top part of your backpack twice before tying it off securely with an overhand knot. Repeat this process with the second piece of rope at another location near where you tied off the first piece. Finally, adjust tension as needed until your sleeping bag is firmly secured to your pack without any excess slack remaining in either side’s knots or loops.
HOW DO YOU ATTACH THINGS TO A BACKPACK?
Backpacks are essential for outdoor adventures, and knowing how to attach items securely is key. To start, choose the right straps or loops that match your gear’s size and weight.
For heavier items like sleeping bags, use adjustable compression straps to keep them in place. If you’re attaching a small item like a water bottle holder, look for daisy chains or webbing with buckles so it won’t slip off while walking. Before heading out, make sure to inspect all of your attachments and ensure they are secure.
Conclusion
No matter the outdoor activity, having a way to affix your sleeping bag to your rucksack can be an immensely useful asset. With the right straps and clips, attaching a sleeping bag is simple and secure. Not only will it save space in your pack but also keep everything organized while you explore planet Earth.
Learn how to attach a sleeping bag to your backpack with our easy-to-follow instructions and tips. Make the most of your outdoor adventures by taking advantage of all the resources SunWaterDirt.com has to offer!